
In this post, I will show you how to boot / burn / boot any Windows ISO image to your USB flash drive.
This method works for WINDOWS 10, WINDOWS 8, WINDOWS 7, WINDOWS XP and all other versions.
This operation takes about 5 minutes.
What You'll Need:
- A Windows ISO file (e.g., Windows 10, Windows 11)
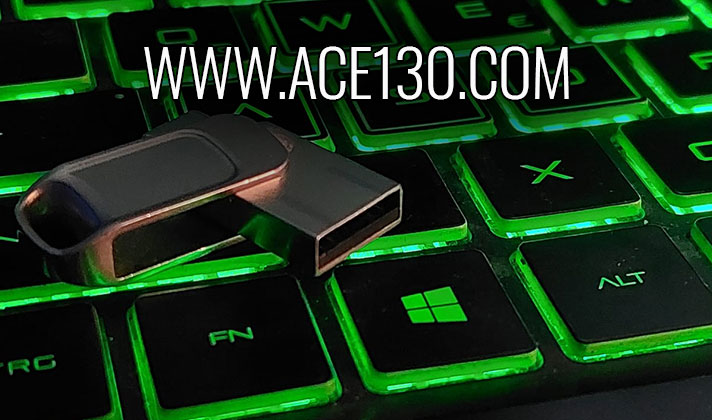
- A USB flash drive (at least 8GB in size)
- A computer with a reliable internet connection
- Rufus software (a free utility for creating bootable USB drives)
Steps to Burn or Boot Windows ISO Image:
1. Download Rufus:
Visit the Rufus website and download the latest version of Rufus
2. Insert Your USB Drive:
Plug your USB flash drive into your computer
3. Open Rufus:
Launch the Rufus application
4. Select Your USB Drive:
In Rufus, select your USB drive from the "Device" menu
5. Choose the ISO File:
Click on the "Select" button next to the "Boot selection" then browse to the location of your Windows ISO file
6. Start the Process:
Click on the "Start" button in Rufus
Please note that all data on the USB drive will be erased
Confirm the warning and proceed.
7. Wait for Completion:
Rufus will now create the bootable USB drive
8. Boot from USB:
Once the process is complete, Restart the computer and access the BIOS/UEFI settings (usually by pressing a key like F12 or F1, Delete, or Esc during startup).
Your computer should now boot from the USB drive and start the Windows installation process
And that's it! You've successfully created a bootable USB drive from a Windows ISO image. If you have any questions or run into any issues, feel free to ask!
It is recommended to burn your ISO on a USB flash drive as a blank DVD or CD, because booting from a USB flash drive is faster and better than a DVD. Because of the speed of reading and writing.
Post a Comment